-->

Tuesday, October 28, 2014

Halloween 2014

For my Halloween mani this year, I went with spiders.  I actually have a bit of a phobia of spiders, but I had seen a lot of really cute designs on Pinterest which inspired me.


I want to start off with just how excited I am that my spider web stamp worked...I've had it for 2 years and this is the first time I have been able to get it to stamp!  Thanks to my Mundo de Unas stamping polish!


I applied my typical base coat followed by 2 coats of Ulta Devious.  I then sponge applied the Orly Intergalactic Space which provided great glitter coverage without adding too much of the black jelly base it is suspended in.  I also sponge applied a small amount of the Barielle Purple Hearts.  This was a great partner to the Orly glitter!


After a LOT of practice and cleaning off my BM13 spiderweb image, it finally stamped perfectly!  I used the MDU Silver for the webs and spider. I sponged a little bit more Purple Hearts on top of the webs for a little more dimension.


I added some gems on top of each nail as well.  I had to have red for the spider!  The webs all have a purple stone in the center.


Once the gems were firmly affixed, I topped everything off with a thick coat of Seche Vite.  I am super pleased with how these turned out!  I think they are a "cute" spooky look.  :)


I'm submitting this in to Crumpet's Nail Tarts 52 week pick-n-mix challenge as there are 3 dark polishes in this.  Take a look at the other lovely works below!

post signature

Sunday, October 19, 2014

Stripes #4: Fall Foliage

It's the middle of October and the leaves are all turning here.  It has been so rainy and we have been so busy that we haven't had much time to really enjoy the season change.  It is my favorite time of year and things are just so beautiful!  I'm combining 3 challenges into my mani this week: Stripes in The Nail Challenge Collaborative; Gray + Color in Crumpets Pick-N-Mix Challenge; and my #HePicksMyPolish entry.


I love my husband.  He is so thoughtful that he pulled out 4 polishes for me to use...2 different sets of 2 polishes.  He wanted me to have options.  Well, I just used all 4 instead.  I knew that I was going to use my MDU Dark Gray for stamping no matter what he picked - it was just a matter of choosing the right stamp.


He is obsessed with my texture polishes!  I had to figure out a way to use all of these colors and incorporate stripes.  I haven't done any fall manicures yet, and that was his inspiration, so I went with it.  I settled on a Nimbus mani and I am super glad I did!  I started with Hanging In The Balance and played with the level of opacity before moving on to Toe-Tally Textured.  This one was a bit harder because of how textured the polish is.


I put down Sun-Sational next.  It didn't take too much to get a nice yellow hue.  Next, I added some Destiny to the mix.  This is kind of a jelly so, it took a bit more to get the red color in there.  It still wasn't popping enough, so I added a little bit of Sinful Colors Snow Me White to layer a little white in to put the red on top of it.  That worked out perfectly!


The colors all blended together reminds me of fall foliage and crunchy leaves.  I love it!  I added a layer of my trusty Seche Vite to prepare for stamping.  I used GA15 for the stamping image.  I was a little bummed that my image wasn't straight on one nail...I was shaking because I was so hungry!  I actually had to take a break to eat during this one...LOL!


post signature

Tuesday, October 14, 2014

Stripes #3: Witch's Tights

With a little Halloween inspiration, I created another stripes mani.  I also added a little matte finish to my accent nail.  More on that experience later...


Here is what I used for this mani:


This reminded me of those tights witch's wear in figurines or those Halloween decorations you can buy all over the place.  For this look, I used my typical base coat and one layer of Sinful Colors Snow Me White.  I used 2 coats of Meg for the green nails and 2 coats of Creative Fantasy for the purple ones.  I then added 2 coats of I Love You to the purple nails for a glitter effect as the Creative Fantasy dries with a kind of "rubber" look.


For my accent nail, I added 2 coats of Watch It Glitter.  I then added a layer of Seche Vite (on all of my nails except the accent nail) to seal it all in and begin the striping tape detail.  These stripes came with a lot of trial and error but I finally settled on two layers of striping tape to get the desired width between stripes.


I cut about 75 pieces of tape for this mani - I always test my designs on my right hand since I can't photograph that hand as easily, it helps me to finalize a design without having to start over.  LOL!  I worked on one nail at a time for this look.  Once the tape was positioned onto the nail, I painted 2 coats of Ebony Hates Chris on top.  Then, I carefully pulled the tape off the nail while the polish was still fairly wet.


After the polish was dry, I added a final layer of Seche Vite to the nails except for my accent nail.  I tried several things with the matte finish on my right hand first...I will admit that I love the look of matte nails on other people...just not so much on myself.  This makes me so sad.  I tried making the black stripes matte at first.  I just didn't like it.  I tried making the whole nail matte, and I didn't like it.  I don't know if it is my matte polish or just me.  It seems like the polish is too waxy or something.  Anyway, I have seen so many people put the matte finish over the glitter with astounding results so I tried it.  I LOVED that!  So, I just have the matte finish on my accent nail.  Not that you can really tell from the photos though.  I realized that it just takes longer to set than normal and not dent or smudge when touched.  Now that I have that learning, I will have to try more of it.


That was a bit long-winded, but thanks for reading through it.  :)

post signature

Sunday, October 12, 2014

Stripes #2

You know that I like to tackle more than one challenge in my mani's because I just don't have the time to do my nails more than once a week lately.  So, this one covers 4 challenges - yes, I outdid myself this time.  LOL!  This one represents my second stripes mani for the Nail Challenge Collaborative as well as my BCA mani for October.  I've also wrapped both prompts for the Pick-N-Mix Challenge with Crumpet's Nail Tarts.  Ok, on to the good stuff...

Who doesn't love the reciprocal gradient look?  Sure, it is time consuming, but the outcome is so fun and pretty!

Here is what I used this time:
I used my usual base coat and a layer of Sinful Colors Snow Me White to get the colors to really pop.  I then added one coat of Berry Juicy before beginning the gradient.  I put all 3 pink colors on a make-up sponge and started dabbing away until I was satisfied with the look.  I then put a layer of Seche Vite down to harden the polish in preparation for the striping tape.
I put the tape on all 10 of my fingers before beginning the sponging again.  I know that we typically talk about doing one nail at a time, but this is much more efficient!  Once I got the colors as saturated as I could get them, I started peeling off the tape.  After clean up and a final layer of Seche Vite, this is the result.  I'm pretty pleased with the look.   This is only the 2nd time (I think) that I have done this type of mani.  It's a winner!
Take a look at all of the other wonderful ideas for these manicure challenges!

post signature

Tuesday, October 7, 2014

Stripes #1

As we move into October, I have one last summer mani to post.  I just couldn't let go!  So, how about some neon pinks?
I wish so much that my photos were better!  These nails turned out so phenomenal!  The color was so bright and happy!  Here is what I used:
I used my usual base coat and 2 coats of Milani White to create a solid stripe color.  I tried a new to me technique for creating the neon blend.  Nail Stamp 4 Fun has an amazing tutorial that I used to create my look: http://nailstamp4fun.blogspot.com/search/label/Marbling%20Nail%20Art
I worked on one nail at a time for this look - it is too complicated to only screw it up if I wasn't careful!  LOL!  I laid down the striping tape and then got my colors on to my stamper.  I let the polish dry a bit before stamping so it wasn't too smeared at application.  The polish dries pretty quickly (that seems typical of neons) so once it was dry, I added a layer of Hot Couture for some sparkle.  Once that was on there and still wet, I very carefully removed the tape.  Once all of the nails were done and dry, I added a final layer of Seche Vite for shine.
I am reluctantly going to move to fall colors next.  I hope this cheers you up!

post signature

Geometric #4

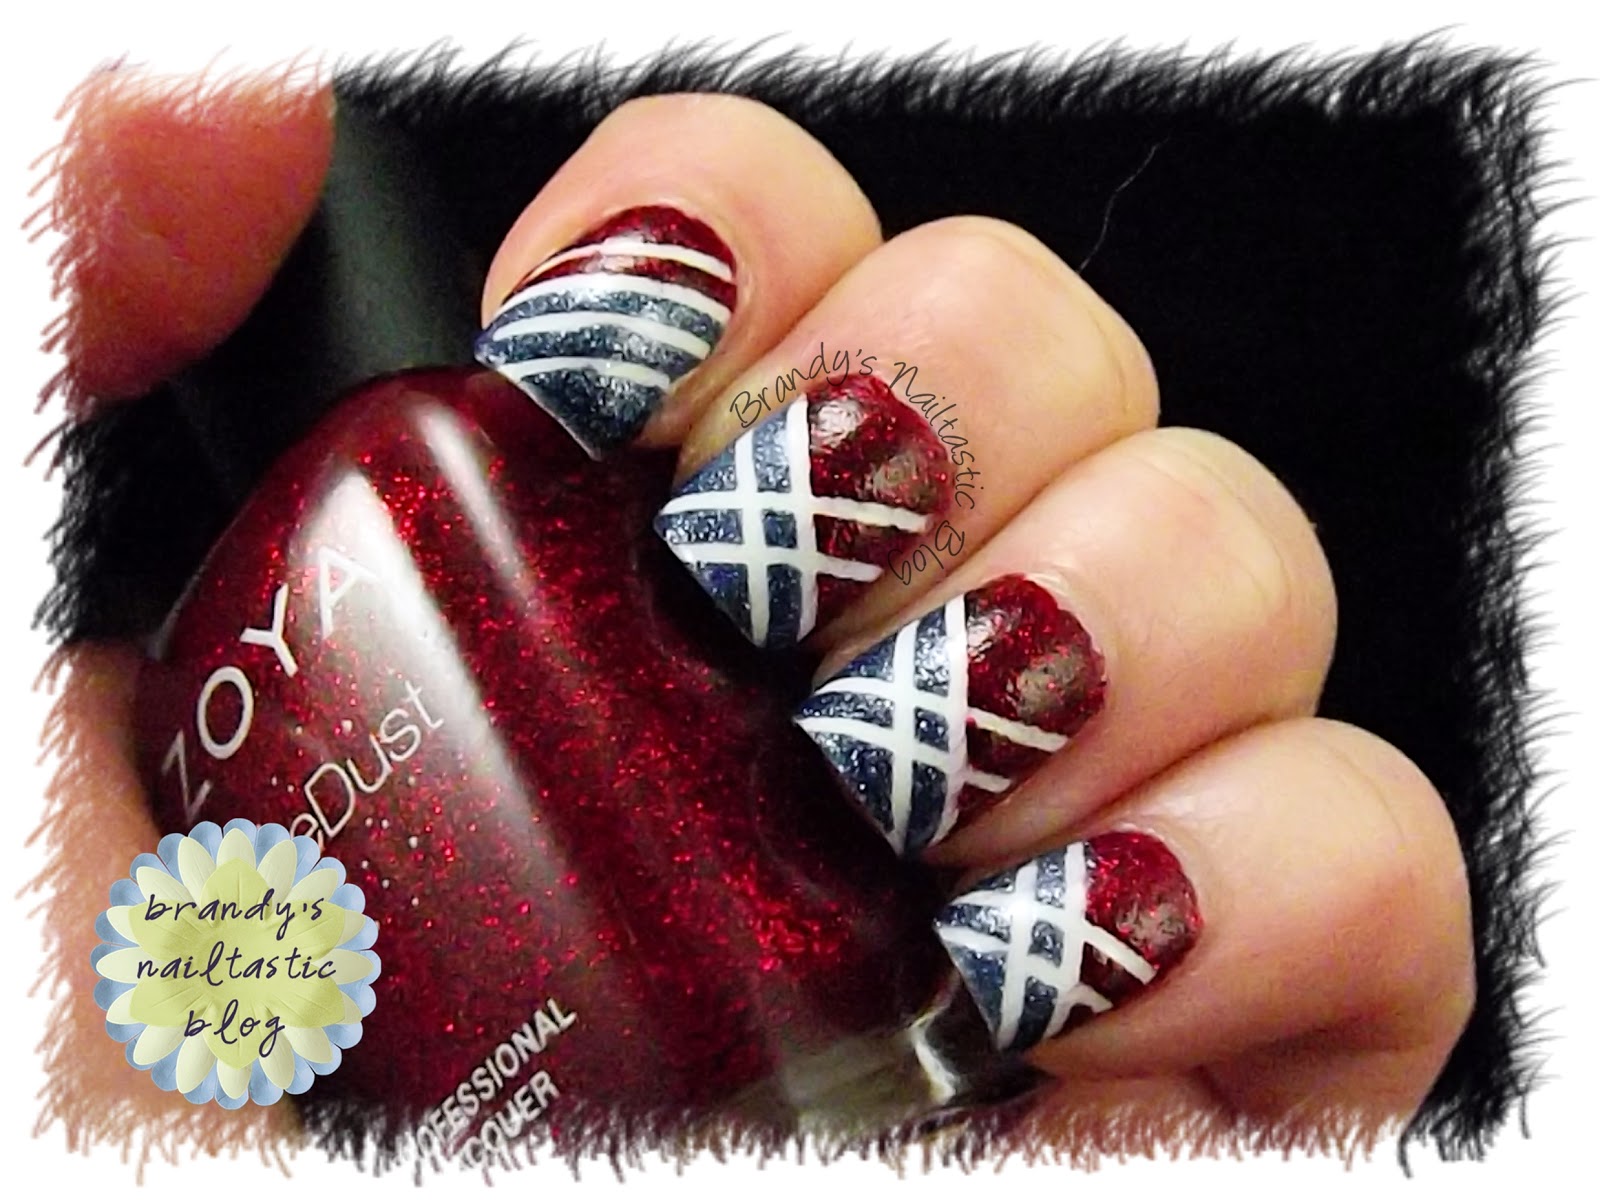
How about a little red, white and blue?  I will admit that this was one of my favorite mani's I did over the summer!  I never managed to post it, which was silly, but it fit right into the geometric challenge that I just had to use it here!
This is another texture manicure, but instead of a rough texture, this one is my "sandy".
After my usual base coat, I used 2 coats of Milani White for a solid white base.  I added a layer of Seche Vite to make sure that was nice and dry before I started the taping process.  There is a lot of tape here!  I must have cut 45 pieces for this one!  I worked one nail at a time to get nice, crisp lines.
I carefully laid each piece of tape down then added 2 coats of each color over the tape.  While the polish was still wet, I slowly pulled up the tape pieces.  After each nail was done and dry, I added a top layer of Seche Vite.
That's it for this month's challenge.  I'm running behind, but I am participating.  LOL!

post signature

Geometric #3

Well, this one is interesting!  I combined 2 challenges for this one: #HePicksMyPolish and NCC.  The hubby was inspired by racing so he picked colors that were "fast".  Those are his words.
He picked the 2 main colors and didn't even realize that they were both textures.  It worked out really well!
After my usual base coat, I put down a thin layer of Milani White as an undie polish.  I added 2 coats of the texture polishes and let them dry before stamping.  I used RA-114 for the image.
Overall, this ended up looking like checkered flags.  It fit right in with the hubby's desired theme!  He was pretty excited that it all worked together so well.
I didn't put a top coat on this look and the image started wearing off of the fore-finger pretty quickly.  I wore this for about a week and while the image kind of wore off, the texture polish stayed in tact for the entire time.
Not too bad for a guy pick. LOL!

post signature

Geometric #2

I'm playing catch up this week on the blog!  I have got to get 4 posts up so that I am all caught up and can get back in the good graces of the wonderful ladies in these challenge groups.  LOL!

This one was a favorite and I wore it for almost 2 weeks!  I do love pink!
I love it when you can't tell which color is the base color and which is the stamp color!  I'll tell you though.  Here is what I used for this one:
I started with my usual base coat followed by a thin layer of Milani White as my undie polish.  I used 2 coats of Jolene then a layer of Seche Vite to lock it in.  Once all of that was dry, I used the MDU and GA11 for my image.
I usually turn my stamp image on my middle finger and thumb because I want the image to go all the way to the edges.  In doing so, the image looks slightly different but still awesome.  Once the stamp was dry, I added another layer of Seche Vite to top it off.
I hope you like this one as much as I do!  Even though I am late on this post, the other ladies did awesome work.  Be sure to check it out.

post signature