-->
Showing posts with label Essie. Show all posts

Saturday, August 22, 2015

Summer Fresh

Hello Friends!

It's been a long while since I last posted but today I have a summer ready manicure that was super easy and really adorable!


I started with a white base coat and then added the colors below in one-stroke fashion to my desired color density.


I was very inspired by The Nailasaurus for this look.  You can see her original post here.  To do this look, all you need is a few colors that you want to blend together.  I dropped a few drops of color on a piece of tin foil and then used a spare brush to mix some acetone into the drops of color.  Once it was thinned out a bit (watery), I did only one stroke across the nail in the horizontal direction then a vertical one.


I tried to do each nail a bit different so the strokes wouldn't be the same.  This was really fun to do and super quick!  Once the colors looked good to me, I ended with a layer of Seche Vite for a super shine.


Thanks for stopping by!

post signature

Sunday, August 3, 2014

Re-create #4: Ode to Classy Nude & Black

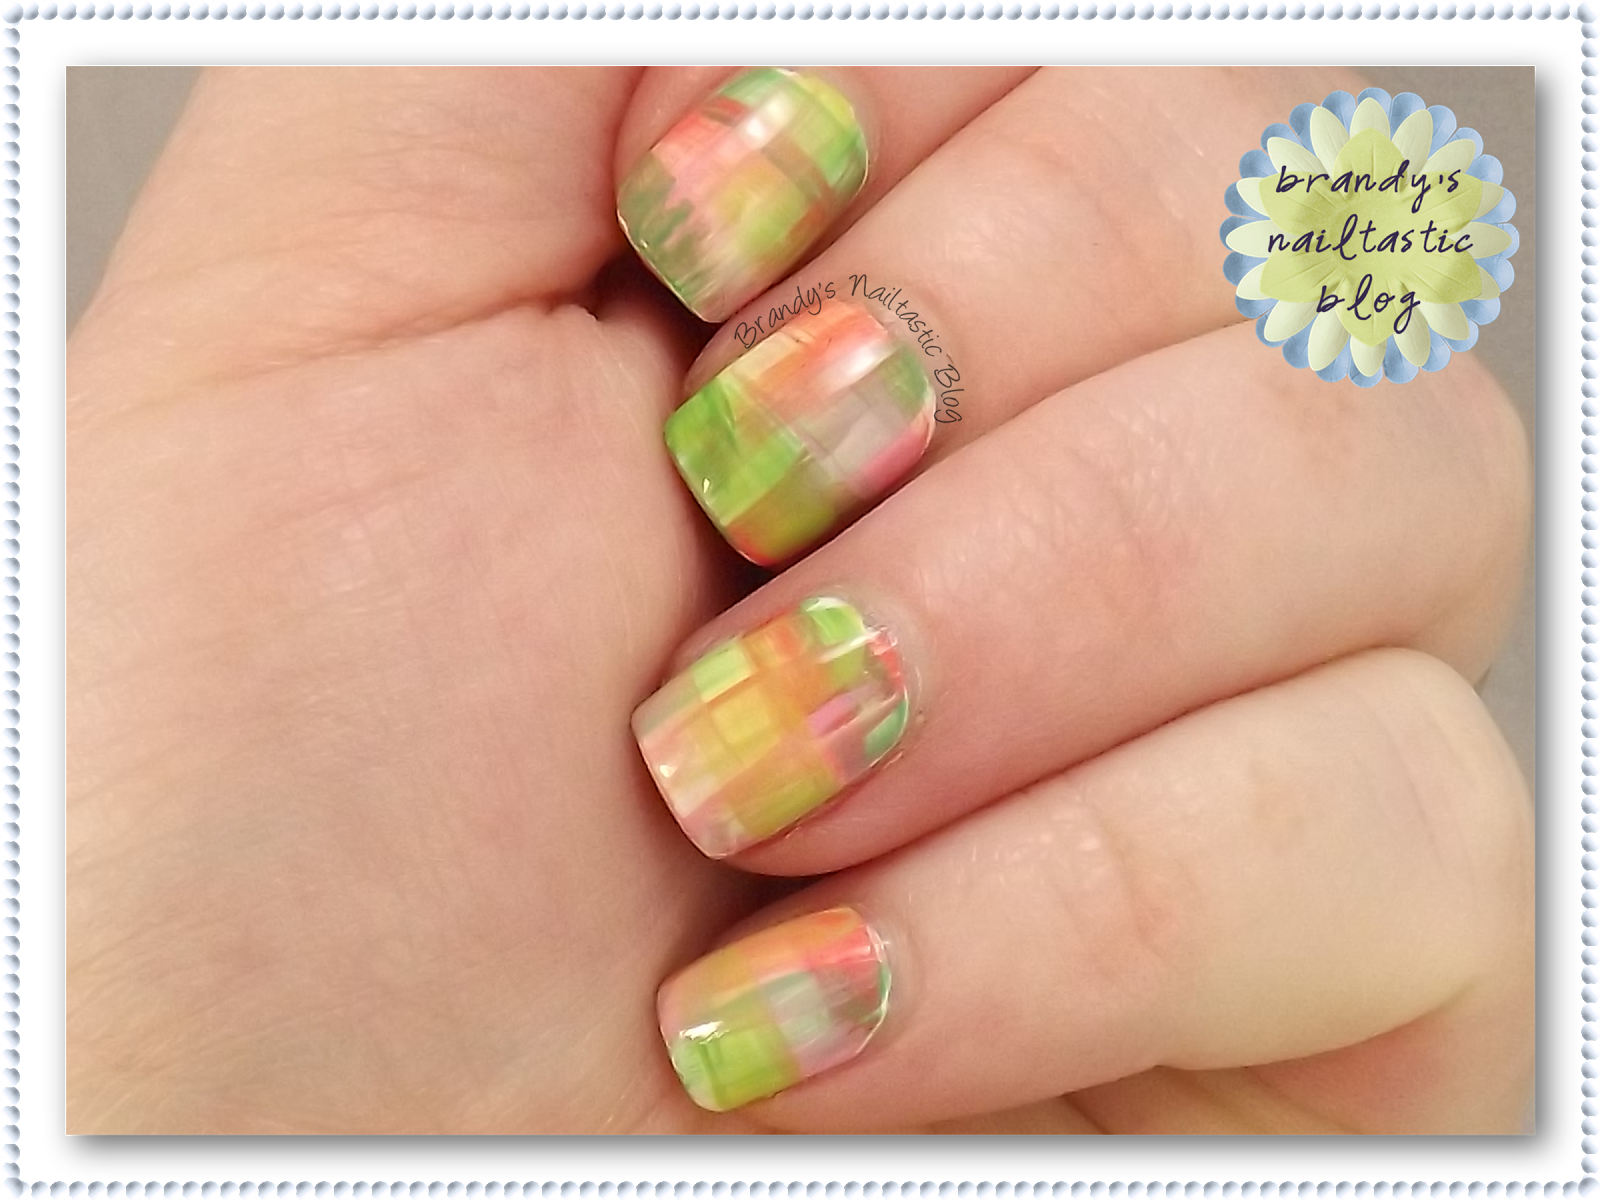
This is my favorite in this series!  Pretty much everything worked out on this one!  That rarely happens!  LOL

My original post of this manicure was quite impressive to me at the time, as I was just getting into stamping.  You can read all about it here.  This time around, I wanted to follow the same theme but use different polishes and a different stamp image.
  • Mundo de Unas Black (stamping)
  • Essie Ballet Slippers
  • Bundle Monster BM-211 (stamp plate)
I used my usual base coat to prep my nails and then I used 3 coats of the Ballet Slippers.  I don't have many Essie polishes in my collection and there is a reason why.  I've struggled with them.  I don't find them to have even coverage.  Even with three coats of this, I still have a VNL.  It is a very pretty color though.  I love the subtle pink and it has an appropriate name.  Once that was mostly dry, I applied a layer of Seche Vite to harden the polish and prepare for the stamping.
I love this MDU polish!!!  I used just a very small amount on my plate and scraped very lightly and slowly to get full coverage on the image.  I waited a few seconds to pick up the image on my rectangle Messy Mansion stamper.  The fact that this polish takes a little longer to dry really worked in my favor as I needed to line up the image with my nail carefully on each finger.  I did one finger at a time so that I could clean up after the stamping as I have heard that this polish may stain my skin or cuticles if not removed quickly.  Once all of my nails were done, I waited a good 5-10 minutes before adding my top coat.  I used a "floating" technique to be sure not to smear the black.  It turned out amazing!


Comparing these manicures, I can really see an improvement in my photography skills.  I'm glad to see that, since I feel like I am still struggling to get it just right.  It seems like I am on the right track!


post signature

Tuesday, February 18, 2014

February Tri-Polish Tuesday #3

I am sticking with the same polishes I picked for this month - yay!
This time I only used the pink and brown polishes.
  • Essie Your Hut Or Mine
  • Ulta Chocolate Kiss
I wanted some fun stripes so I went with a striping tape mani.
I started with one coat of my usual white undie polish and then added 2 coats of the pink.  I put a layer of Seche Vite down to get it to dry quicker and randomly added the striping tape on the nail.  My wonderful husband cut all of the strips of tape for me while I painted the base layers!  I love the support he gives me! I did each nail individually to help with the clean lines.  I added 1 thick coat of the brown on top of the tape and quickly pulled each strip off.  The lines came out really crisp because it was still wet polish.  I waited as long as I could to put the final layer of Seche Vite on as I didn't want it to smear.  
I love this one so much, I might just keep it on all week!  I am super swamped with work so I am not sure how I am going to do another mani this week.  


post signature

Tuesday, February 11, 2014

February Tri-Polish Tuesday #2

Time for another tri-polish Tuesday manicure.  This will be a quick post as I am struggling to stay awake tonight.
  • Essie Your Hut or Mine
  • Zoya Zeenat
  • Ulta Chocolate Kiss
This is a little bit of a skittle-let... I used my newly acquired Pueen plates (Pueen 43, 35) for these stamps and I used my trusty Milani White on White and American Apparel Hassid.  I also have some sticker decals on my pinkie and thumb from Pueen that I got off of Amazon a little bit ago.
I was a bit disappointed in my top layer of Seche with this one.  I am not sure why it smeared everything! Even the sticker decal had a little smearing!
It is a cute little Valentine's Day mani...

post signature

Tuesday, February 4, 2014

February Tri-Polish Tuesday #1

Brown, Pink & Grey.  Brown, Pink and Grey?  Brown. Pink. Grey.

This took a lot of time for me to wrap my head around this color combo.  I struggled with it for sure!  I chose my design and painted my nails last night and I am running very late on putting this post together.  I'm going with a diagonal french tip kinda look.  I have been admiring all of the submissions today - these girls are TALENTED!!!

Here's mine...
  • Essie Your Hut or Mine
  • Zoya Zeenat
  • Ulta Chocolate Kiss
There is a lot of polish on these nails!  I started with a base coat then put one coat of my usual undie down.  I used 2 coats of the Zoya grey color (probably could have done 3 as this a very light color).  I then put a layer of Seche Vite down to seal it in and get ready for taping.  I taped off about 1/2 the nail and added the Essie pink color (1 thick coat), quickly removed the tape and added another layer of Seche.  The next round of tape was added so that I could do one final coat of the Ulta brown color and another round of Seche.  
My pinkie is my favorite. 
post signature

Saturday, February 9, 2013

Hot Chocolate

Let it Snow! Challenge - Hot Chocolate

I had my idea for this one a few days before I was going to do it.  When I drink hot chocolate (which isn't too often), I like to put marshmallows in it.  I mean, who doesn't?  I am still trying to perfect my water marbling skills too.  I really struggle with having the patience to do it and even more challenging for me is the design portion.  I had seen a tutorial on making a swirl pattern by simplelittlepleasures (here) which was my inspiration for my marble.  I can't tell you how time-consuming this process is!  At least for me.  Perhaps it is just because I haven't mastered the technique.  I mean, this took over 4 hours for me to do.  That is ridiculous.  But, because of my state of mind at the time, I didn't mind.

Here is what I ended up with:


I used a lot of colors with this one.  Ready?
  • base color: Sally Hansen Duchesse Lace (2 coats)
  • marble: China Glaze Ingrid, Barielle Misbehaving Mistress, Zoya Pasha, Essie Adore-a-Ball, Sally Hansen Duchesse Lace, Wet 'n Wild Break the Ice.
  • top coat: Seche Vite
I love this!  I totally looks like cocoa with marshmallows swirled in it.  For how labor intensive this was, I am very pleased with how this came out.  Only one bubble?  That is amazing!  LOL

Here is my thumb:


Thanks for visiting!
Brandy

Check out the other wonderful looks for this week's challenge.